DIY Garage Floor Kits
If you want a cheaper way to coat your garage floor than hiring a professional to do it for you, you can head to your local hardware store and pick up a DIY garage floor kit. DIY garage floor kits are typically a few hundred dollars at the most, making them more affordable upfront than the professional alternative. However, before you spend the money on a DIY garage floor kit, it’s important to ensure that you’re ready to take on a project of this magnitude.
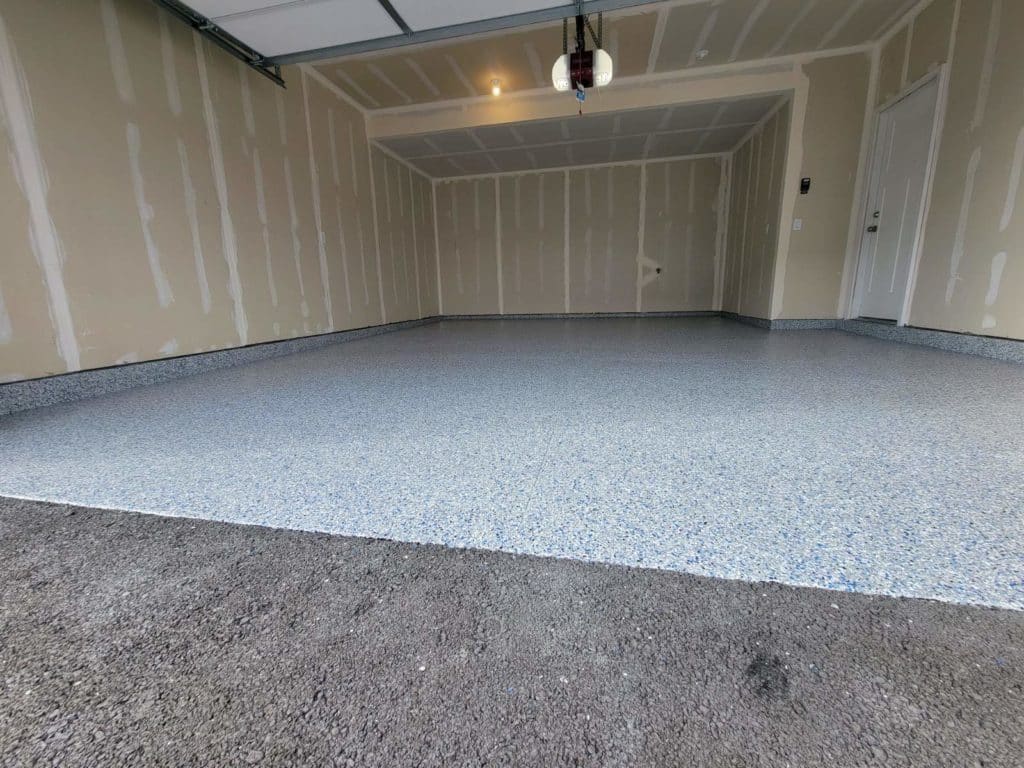
Done correctly, DIY kits can greatly improve the look, feel, and functionality of your garage floor. They can boost durability, protect your floor from stains and other such damages, and make your garage floor look more put together than it would otherwise.
DIY kits may sound like a quick and easy alternative to hiring a professional, but while they’re cheaper upfront, they’re neither quick nor easy to install. You must ready yourself for a great deal of hardwork. DIY is in the name, but it is important to know that this do-it-yourself project is time-intensive and requires careful attention to detail in order to prevent mistakes that could ruin your entire floor.

The Process Of DIYing Your Garage Floor Coating
#1. Preparation
Prior to applying your DIY garage floor kit, you’ll need to ensure that your garage floor is prepped and ready. That way, you can rest assured that your coating will properly adhere to the surface for optimal performance and durability.
The bare minimum of preparation is cleaning your garage floor, scrubbing away any grime and the like, and then acid etching it. Your goal is to achieve a smooth surface that is clean. There shouldn’t be any stains or moisture, as these can prevent the floor coating from adhering properly.
If there are any cracks or other such damage to your concrete, you will need to repair them. Any damages in the surface will reflect in the coating. So, if you don’t want your coating to have cracks and pits and the like, you will need to ensure that your floor is clean, smooth, and level.
#2. Ensure That You Have Personal Protective Equipment (PPE)
DIY garage floor kits can have harmful fumes that can negatively impact your health, amongst other health hazards. To keep yourself safe throughout the application process, ensure that you have proper PPE. PPE can also be very helpful during preparation, to keep from breathing in dust or other such particles and contaminants that could put your health at risk.
#3. Priming And Application
Once your floor has been prepped, then you can prime them and apply your coating. Be careful to follow the instructions on your DIY garage floor kit closely in order to achieve optimal results. If you have any questions about the application process, you can likely contact the manufacturer of your DIY garage floor kit and they will be able to provide you with more information for your specific kit.
#4. Let It Cure
DIY garage floor kits take a long time to cure. It’s important to ensure that you give them all the time that they need, because if you try to walk or drive on them before they’re cured, this can ruin them, and render all that work for nothing.
#5. Reapply
DIY garage floor kits don’t last very long. You’ll need to reapply them every couple of years in order to keep your garage floor protected and looking its best.
While Solid Garage Floor Coatings of Montana does not do DIY garage floor kits, we do provide professional garage floor coatings. If you want a professional floor coating that looks fantastic and that can last for up to 30 years, please don’t hesitate to contact us today!

